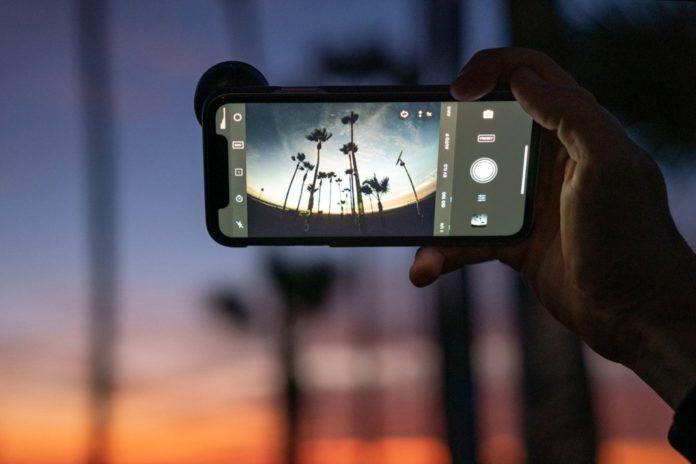
Enabling View Outside the Frame on iPhone is really useful for smartphone photographers. If you’re a modern iPhone user with an iPhone 11, iPhone 12, iPhone 13, or iPhone 14 model, you may have even noticed this nifty feature in your Camera Settings already.
By default, View Outside the Frame is disabled for photos and enabled for video, but it’s well-worth learning how and when to use this feature for photography.
Why? Well, as it says on the tin, this setting lets you see what’s outside the bounds of your photo’s frame. This helps you consider your composition, and whether you might want to shift it slightly, which comes in really handy for wider landscape or architecture shots.

Why would you use View Outside feature?
View Outside the Frame is also useful for street photography, allowing you to keep a tab on what’s going on around you in the environment, and who might walk into your frame next. It’s for these reasons that many photographers love the optical viewfinders of DSLRs (and certain mirrorless cameras like the Fujifilm X-Pro3), which essentially do the same thing.
With this setting enabled, you can also zoom out (or, technically speaking, “crop out”) of your photo after it’s been taken, revealing a wider view beyond the original composition. This is really helpful when it comes to editing, as it means you can worry less about achieving the perfect framing when taking a photo in a hurry, or accidentally missing any key content on the outskirts of the frame.
Think of it as a second chance of snapping the perfect shot. Or perhaps a more flexible way of capturing great photos.
If you like the sound of the feature, it’s really easy to switch on. Follow the steps below to find out on how to use View Outside the Frame.

How to View Outside the Frame on iPhone
- Go to Settings > Camera
- Toggle on View Outside the Frame
That’s it! Once you’ve enabled this setting, you’ll see a faint gray border around the edges of your camera preview. This indicates the area that’s being captured outside of the frame.
To use this feature, simply compose your shot as you normally would, but keep an eye on the gray border. If you see something you want to include in your photo, simply move the camera until it’s within the gray border.
Once you’ve taken your photo, you can open it in the Photos app and pinch out to zoom out. This will reveal any content that was captured outside of the frame.
Tips for Using View Outside the Frame
- Use it for landscape and architecture shots: This feature is ideal for capturing wide-angle shots of landscapes and architecture. By seeing what’s outside of the frame, you can make sure you’re capturing everything you want to include in your photo.
- Use it for street photography: View Outside the Frame can also be helpful for street photography. By keeping an eye on the gray border, you can make sure you’re capturing everything that’s happening around you. This can be especially helpful for capturing candid moments.
- Use it for editing: Even if you don’t use View Outside the Frame when you take your photos, you can still use it to edit your photos later. By zooming out, you can reveal any content that was captured outside of the frame and use it to improve your composition.
View Outside the Frame is a great feature that can help you take better photos with your iPhone. If you’re not already using it, I encourage you to give it a try. You might be surprised at how much it helps you improve your photography.
Stay tuned to Brandsynario for more news and updates.


