


Let’s face it, even the most careful car owners can’t predict every situation on the road and we’ve all been there. Here in Pakistan, with uneven surfaces, surprise potholes, and the unholy stack of road debris, a flat tire can happen to anyone, anytime. And to top it off, the most terrifying discovery on a roadside is finding out the spare tire is flat. While a professional tire repair is always the ideal solution, not everyone is so lucky roadside. Carrying a tire puncture repair kit can be a lifesaver, getting you back on the road quickly and safely. But knowing how to use it effectively is another thing.
Well fear not, my fellow motorists! This guide will break down the process of using a tire puncture kit in 4 simple steps, giving you the confidence to handle a flat tire situation easily!
Why Is Even A Tire Puncture Kit Essential in Pakistan?
Let’s be honest, Pakistani roads can be anything but comfortable. Unforeseen hazards like sharp objects, uneven surfaces, and hidden potholes can easily puncture your tire. While maintaining proper tire pressure and regularly checking for wear and tear can help minimize the risk, sometimes a flat tire is simply godsent!
For many drivers, having a spare tire is their only line of defense against a flat. But there’s a sneaky risk: what happens if your spare tire is flat too!? You might become frustrated in a situation like this (trust me, I’m no stranger). A tire puncture repair kit offers a quick and convenient solution, allowing you to fix the flat tire you’re currently using and get back on your journey!
Choosing The Right Tire Puncture Kit For You!
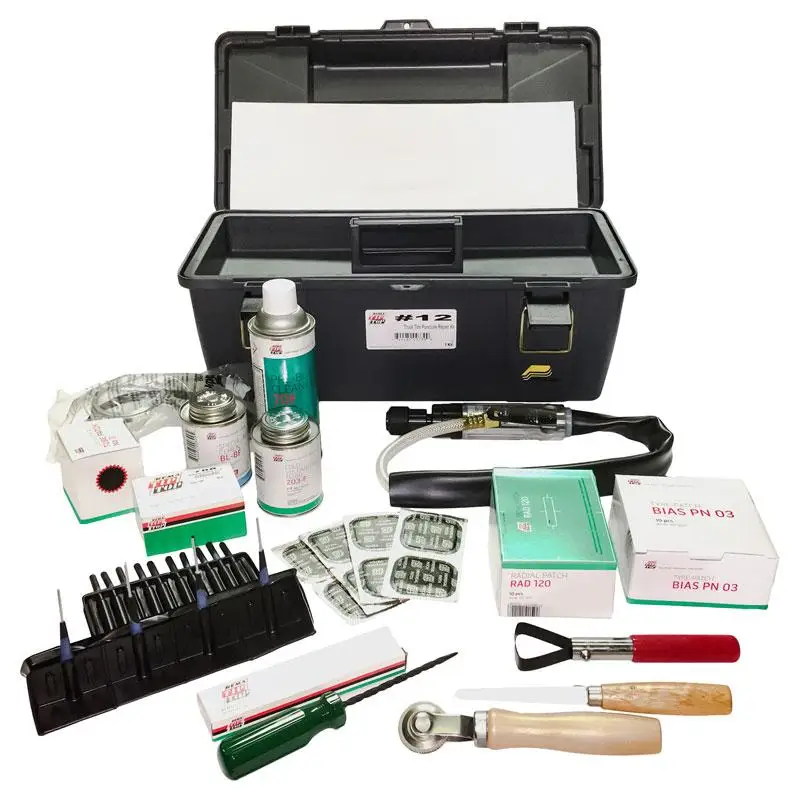
Before hitting the road, ensure you have the right puncture repair kit for your vehicle. Here are some key factors to consider:
- Tire Type: Kits are designed for either tubeless or tubed tires. Make sure the kit you choose is compatible with your tire type.
- Sealant Type: Puncture repair kits typically use a rubber-based sealant to plug the hole and re-inflate the tire. Some kits even bless you with a canister to fill your tire up for the time being!
- Additional Tools: Some kits may include additional tools like a valve stem remover or a tire pressure gauge. While not essential, these tools can be helpful for a more comprehensive repair.
Now that you’ve gotten an idea, let’s dive right into fixing up that old tire of yours so that you can be on your way!
The 4-Step Easy Tire Puncture Repair Guide

- Step 0 – Parking & Putting Your Car In Park: Safety should be priority so, before you begin make sure to find a safe location away from traffic to pull over (if you’re already on the road). Make sure everything is clear and then proceed to engage your hand-brake or shift your gear to park if its an automatic at the very least. Next, you should turn on your hazard lights to alert other drivers of your stoppage.
- Step 1 – Identify the location of the Puncture: Finding the precise position of the puncture is the first step in fixing it. Examine the tire visually first to look for any evidence of defects. If you’re having a hard time locating the puncture, try listening for a hissing sound, which is an indication of air leaving the tire.Alternatively, you may use soapy water to identify the puncture spot by spraying it over the tire and watching for bubbles to form. But be warned; if the object looks large or deeply ingrained inside the tire, don’t attempt to remove it! This could further the damage and make it beyond repair!
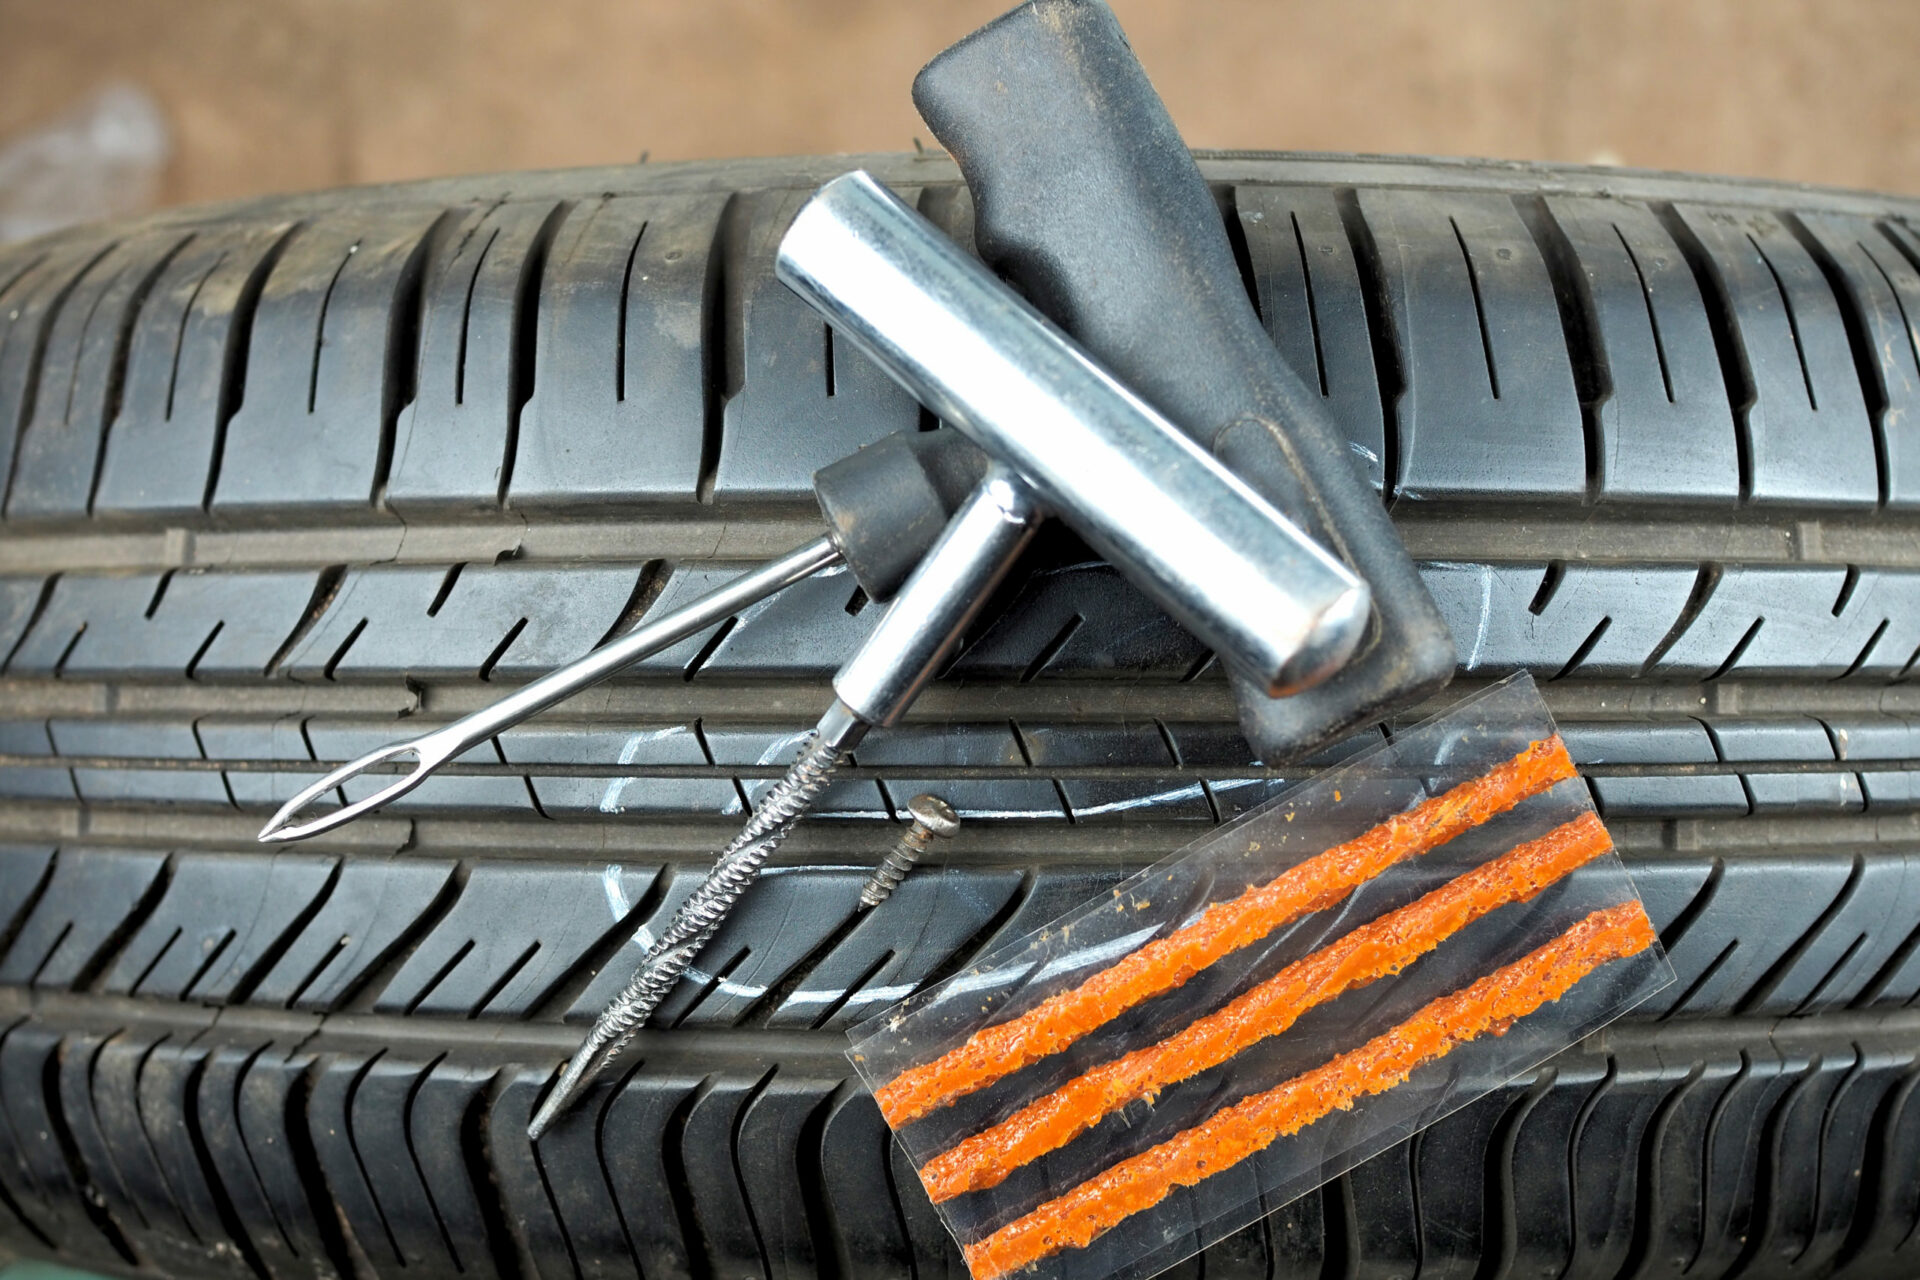
- Step 2 – Removing the object: Once you’ve located the puncture and made sure the object is cold to the touch, remove the foreign object. The culprit in question could be a nail, screw, or even a small shard of glass. Use a pair of pliers to carefully extract it slowly, without causing further damage to the tire. After removal, clean the area around the puncture with the reamer tool (looks like a filing tool) which is usually included in your puncture kit. This helps in preparing the rubber surface by clearing the area for the repair, and as a result ensuring better adhesion of the plug.
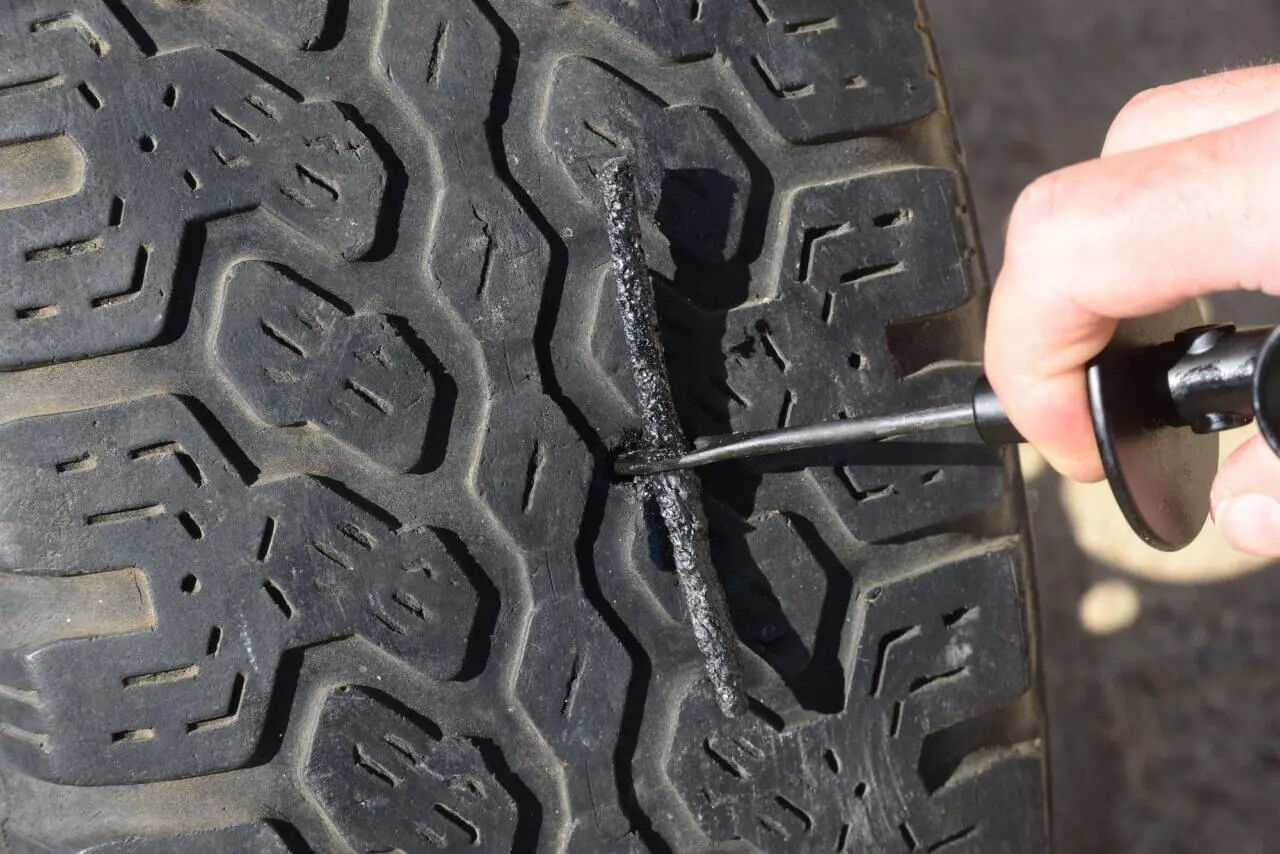
Image Source: 4wheelparts - Step 3 – Using the sealant: The market is filled with different methods of patching a tire. You could have bought one that provides you with a plug or a sealant or both! In the case you bought the one with the plug, simply use the glue supplied with it and push the plug into your tire almost 2/3rds of the way with the included insertion tool (looks like a glorified cork). If its the other type, insert the reamer tool into the puncture hole. This allows the sealant to enter and form a proper seal. Following the kit’s instructions, connect the sealant bottle to the valve stem and inject the sealant into the tire.
Image Source: 4wheelparts - Step 4 – Removing Excess & Re-inflating the Tire: With the plug in place, use a blade or knife to trim off any excess sticking out from the tire surface. This helps in preventing any uneven wear. Finally, re-inflate the tire to the recommended pressure using a portable air compressor or pump. Check the tire pressure with a gauge to ensure it’s at the correct level. Make sure to monitor the tire for a few minutes to ensure there’s no further air leakages left unchecked!
Additional Tips For Drivers
- Although a puncture repair kit can help you drive again, it’s only a short-term fix. It’s crucial that you have a proper tire repair as soon as possible. Experts will be able to evaluate the damage and decide if a further repair or a replacement is required.
- Puncture repair kits may not be effective for large punctures. If the puncture seems significant, it’s best to call for roadside assistance.
- And before you find yourself in a stressful flat-tire situation, consider practicing using your puncture repair kit at home. This will familiarize you with the process and boost your confidence.
- While there are many affordable puncture repair kits available, consider investing in a higher-quality one that includes a pressure gauge and a more durable sealant.
Concluding Remarks
A tyre puncture can happen to anyone, regardless of how careful you are on the road. A tire puncture kit is an essential tool that every driver should carry. By following the four simple steps above, you can quickly fix a puncture and get back on the road safely. Remember, it’s not just about having the tools but knowing how to use them effectively that makes the difference. Now go driving with assurance, knowing that you’re ready for whatever that the Pakistani roads may bring!
Stay tuned for more automotive guides like these; this is your favorite friendly neighborhood gearhead, Zayaan, Signing Off!